How to Integrate reCAPTCHA into Your WordPress Site
Google’s reCAPTCHA security tool helps shield websites against misuse and spam. It uses obstacles like “I’m not a robot” checkboxes or unseen checks to determine if a user is a person or a bot. This makes sure that interactions on your website are safe and secure.
1. Set Up Google reCAPTCHA
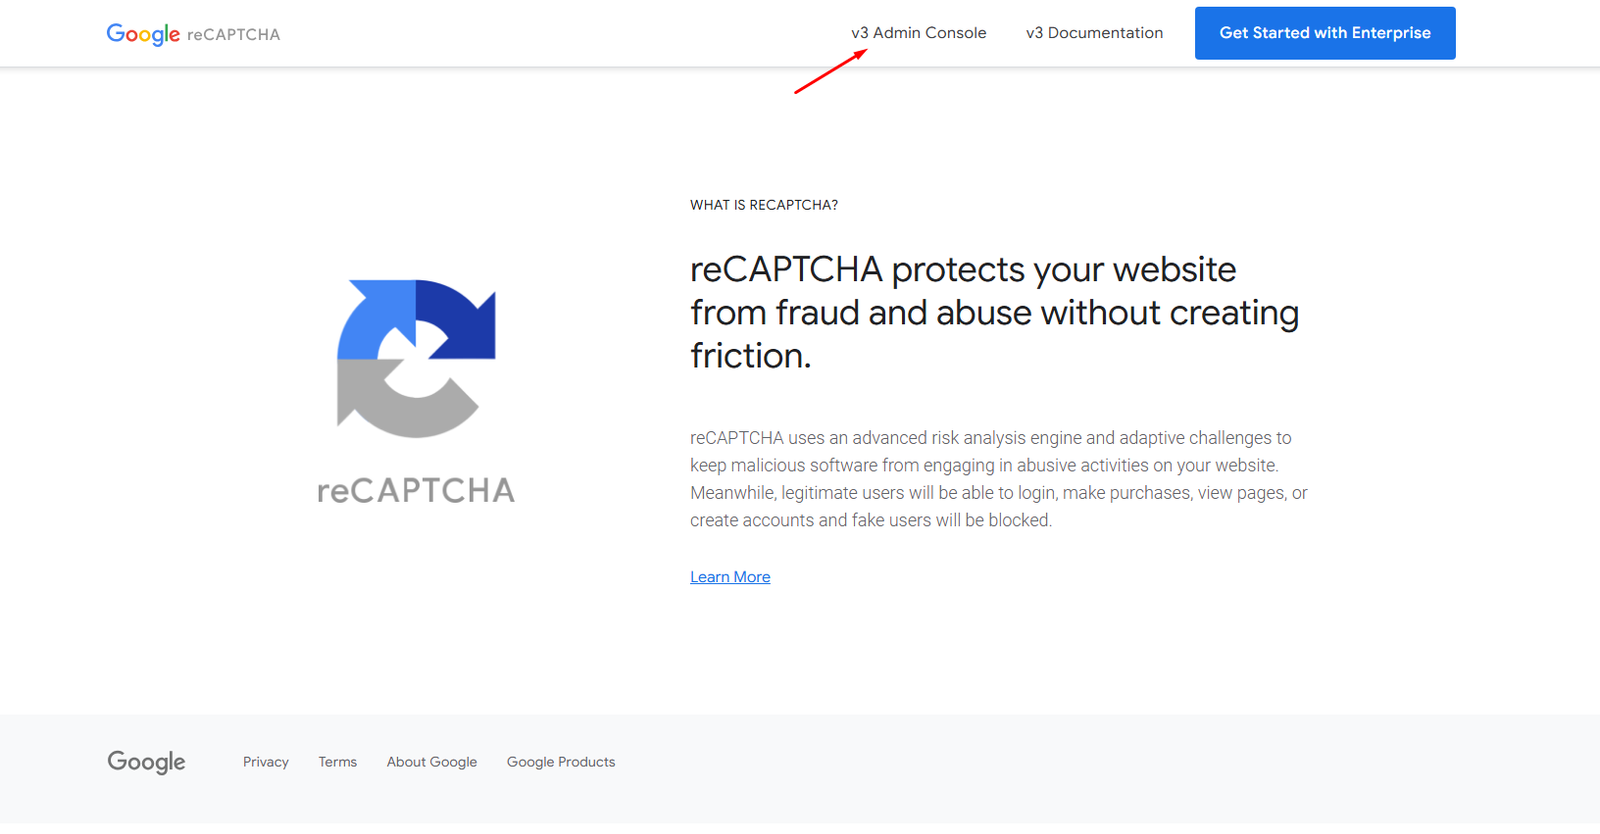
You can add reCAPTCHA to your WordPress site by setting it up through the official reCAPTCHA page for enhanced security. Click on the link and register your domain there.
Select v3 Admin Console from the menu link
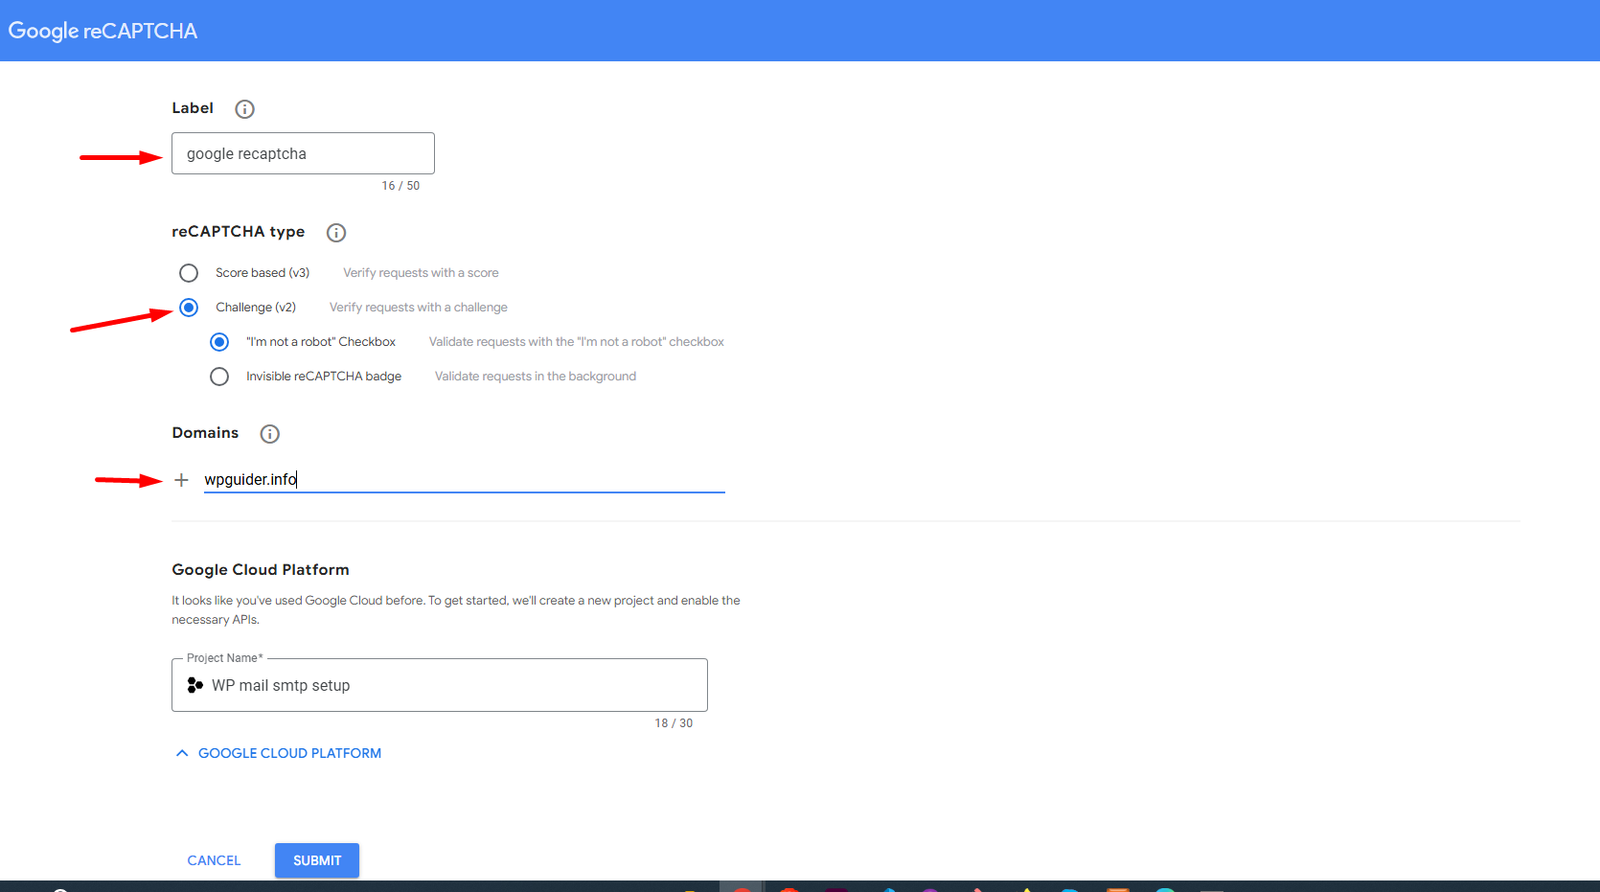
After clicking on v3, you will be redirected to this page. Fill out the highlighted fields and click on the Submit button at the bottom.
Note
Add your domain name; I've used our domain name just for demonstration.
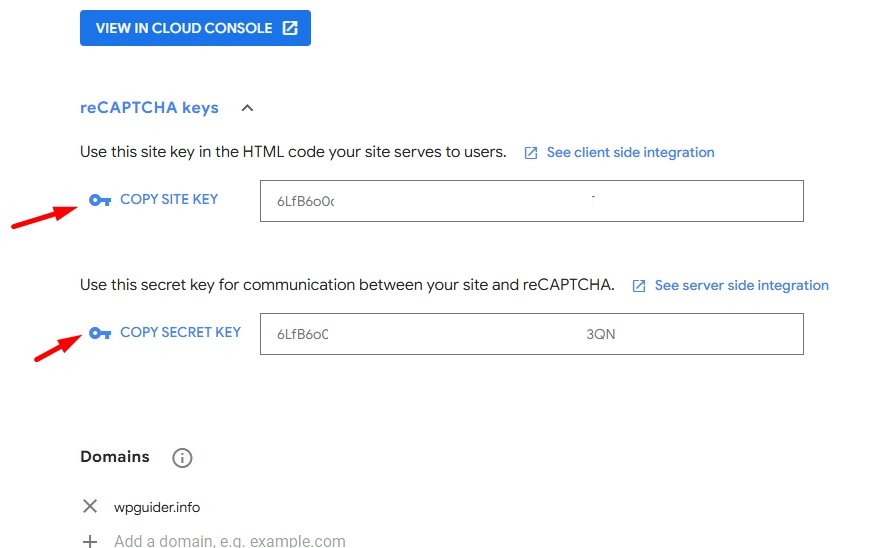
Make a copy of the secret key and site key.
2. Enable reCAPTCHA in MetForm
Log in to your WordPress admin dashboard.
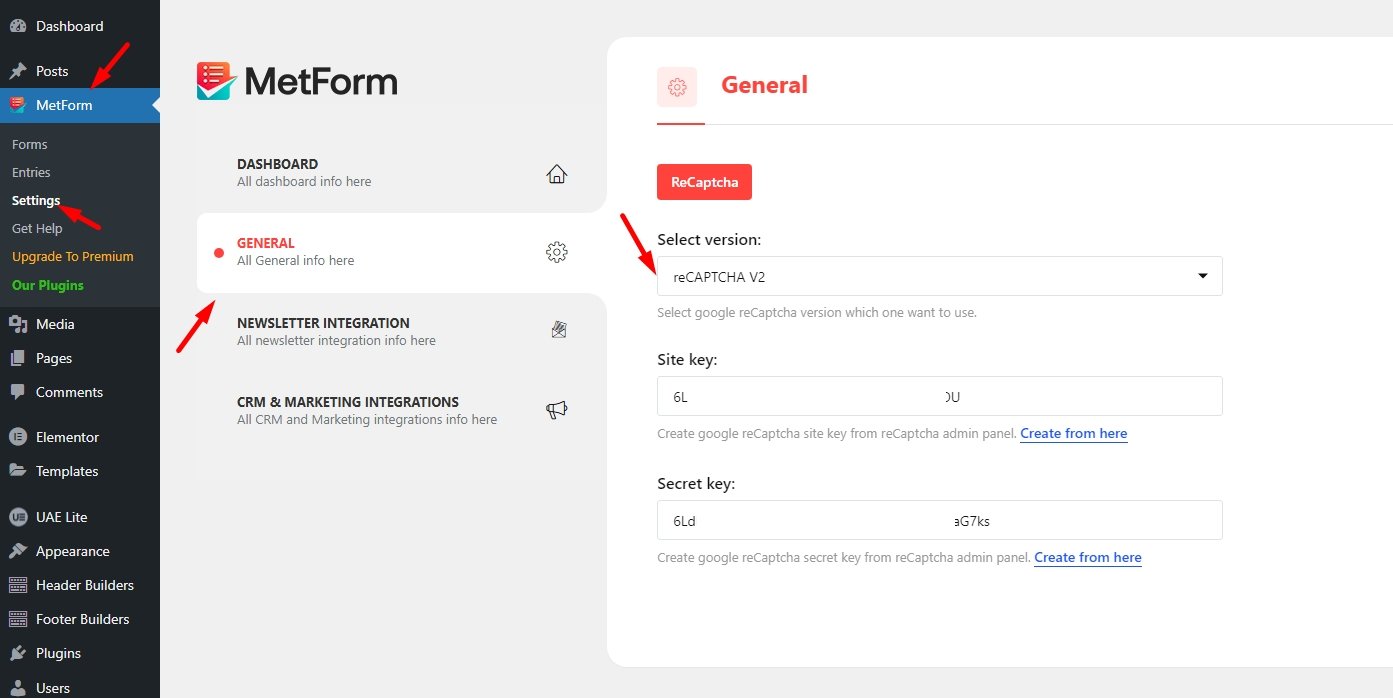
Go to MetForm > Settings.
Navigate to the reCAPTCHA tab.
Paste the Site Key and Secret Key obtained from Google.
Select the reCAPTCHA version (v2 or v3).
Save the changes.
3. Add reCAPTCHA to a MetForm
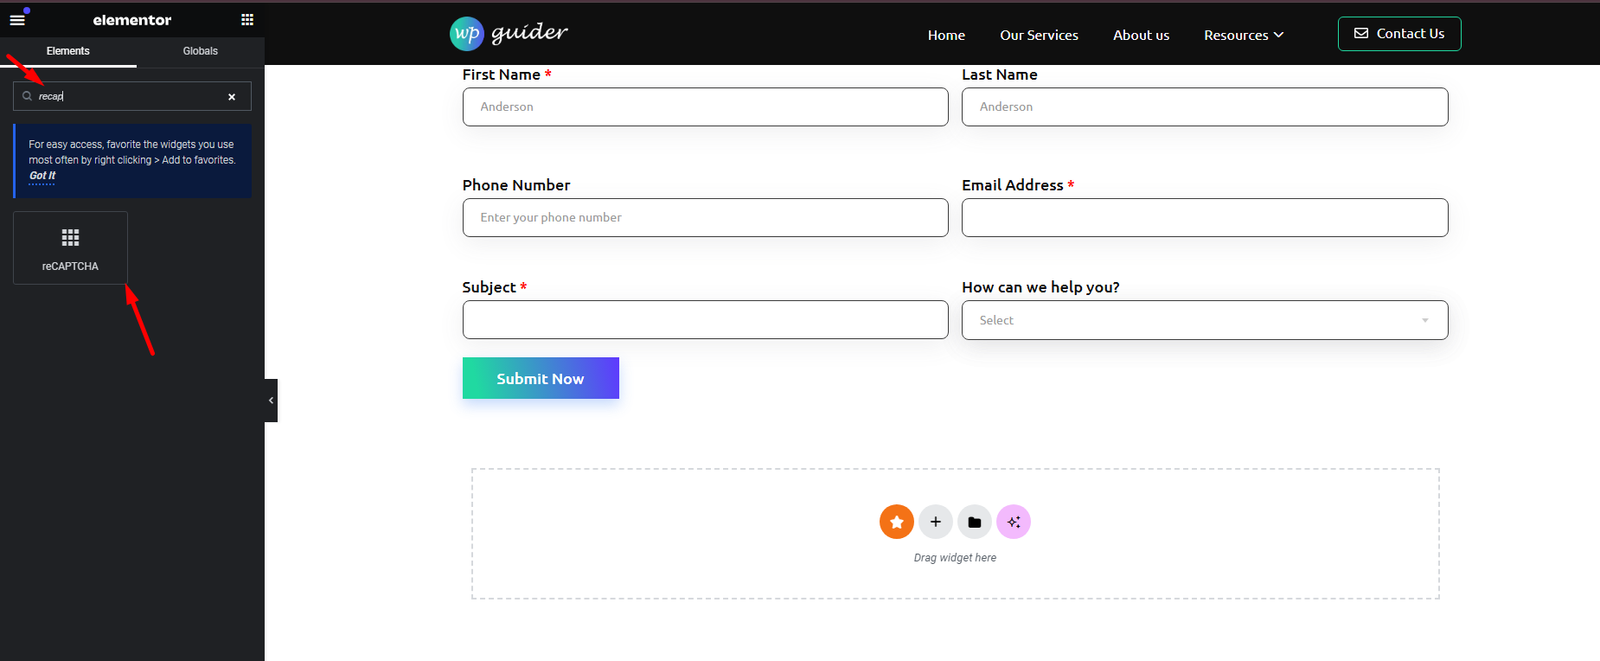
Edit your MetForm in the Elementor editor.
Drag and drop the reCAPTCHA widget from the MetForm elements panel into your form.
Save and publish the form.
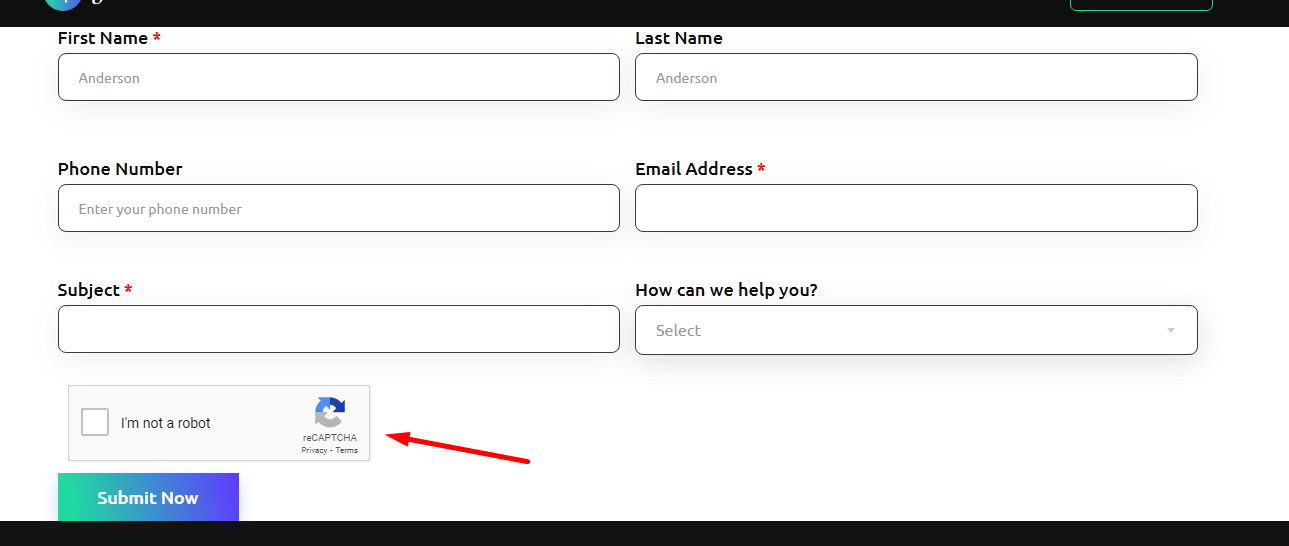
4. Test the Form
Visit the page containing your form.
Verify that reCAPTCHA appears and functions as expected.
Conclusions
In conclusion, by blocking spam and guaranteeing that only legitimate users interact with your website, reCAPTCHA is an easy yet powerful technique to improve website security.